Simplifying Angles
Angles are confusing and chair makers often add to the confusion, but you need to have some ability to deal with them to put a chair part into the seat correctly and more importantly to put the other parts in with the required level of symmetry. Although I will start out with a bit of more complex explanation, my aim here is to simplify things as much as possible and to highlight some tricks and easily made tools you can use to help.
The earlier section on shapes pointed to triangles and trapezoids, so you already know that the angles involved are not usually right angles (90 degrees). What I didn’t highlight in that section is that the legs, for instance, point out both to the side and to front or back. This makes the angles what are often referred to as compound angles. When you start on the seat it is usual to find a centre line from front to back to use as a basis for the symmetry of everything on the chair. If you now draw a line across the seat at right angles to that first line you have the basis for a compound angle. Each chair leg has an angle pointing out from its own centre along a line parallel to the front to back line you drew and another angle pointing out from its own centre along the line of the one you drew across the seat. That is the compound angle, but I am not even going to draw it or explain it further, because it is hard to deal with in both mental and practical terms.
Let me introduce the sliding bevel.
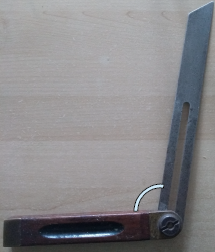
These can be purchased cheaply and set at any angle with the use of a protractor. You can add a block alongside the bottom to help with balancing the wooden base on your chair seat. It is worth saying at this point that all measuring, placing and drilling is easier if you do it before carving the seat and with a flat seat but there are other ways, such as placing a board across the seat. Let’s call the angle shown on the bevel 101 degrees. Confusingly this angle can also be referred to as 89 degrees (the angle from the metal upright to the line of the base of the bevel in the other direction) and 11 degrees (the difference of the tilt from vertical). Get into a habit of using one of these and be prepared to translate from any books you read. If you were trying to set up the angles for a chair leg that points out to the side the same as it points out to the front, then you could take two of these and place one along the front to back line and one along the side to side line and drilling your hole in line with both blocks would give you the compound angle you need. How about making it simpler though? Take one of these and place it with side of the wooden base pointing to the dot where you want your leg centre to be and then spin the other end around till the base is pointing along a line halfway between the front to back and side to side lines (45 degrees). You now have one angle and the direction in which it is pointed. This combination seems to be easier to deal with in general. As long as you have room for your drill, you could align it with the part of the bevel pointing up and drill your hole. Don’t do that though, because we have more options and better ways of balancing all the parts together.
What if you want the legs to point out more in one direction than another? Keep the end of the bevel nearest the leg centre pointing where it is but move the other end either towards the front or back of the chair seat (see pictures below). If you look you will have made the bevel stick out in one direction more and in the other direction less. You will have the same angle on the bevel, but by changing where it points to you will have changed the front to back and side to side angles.
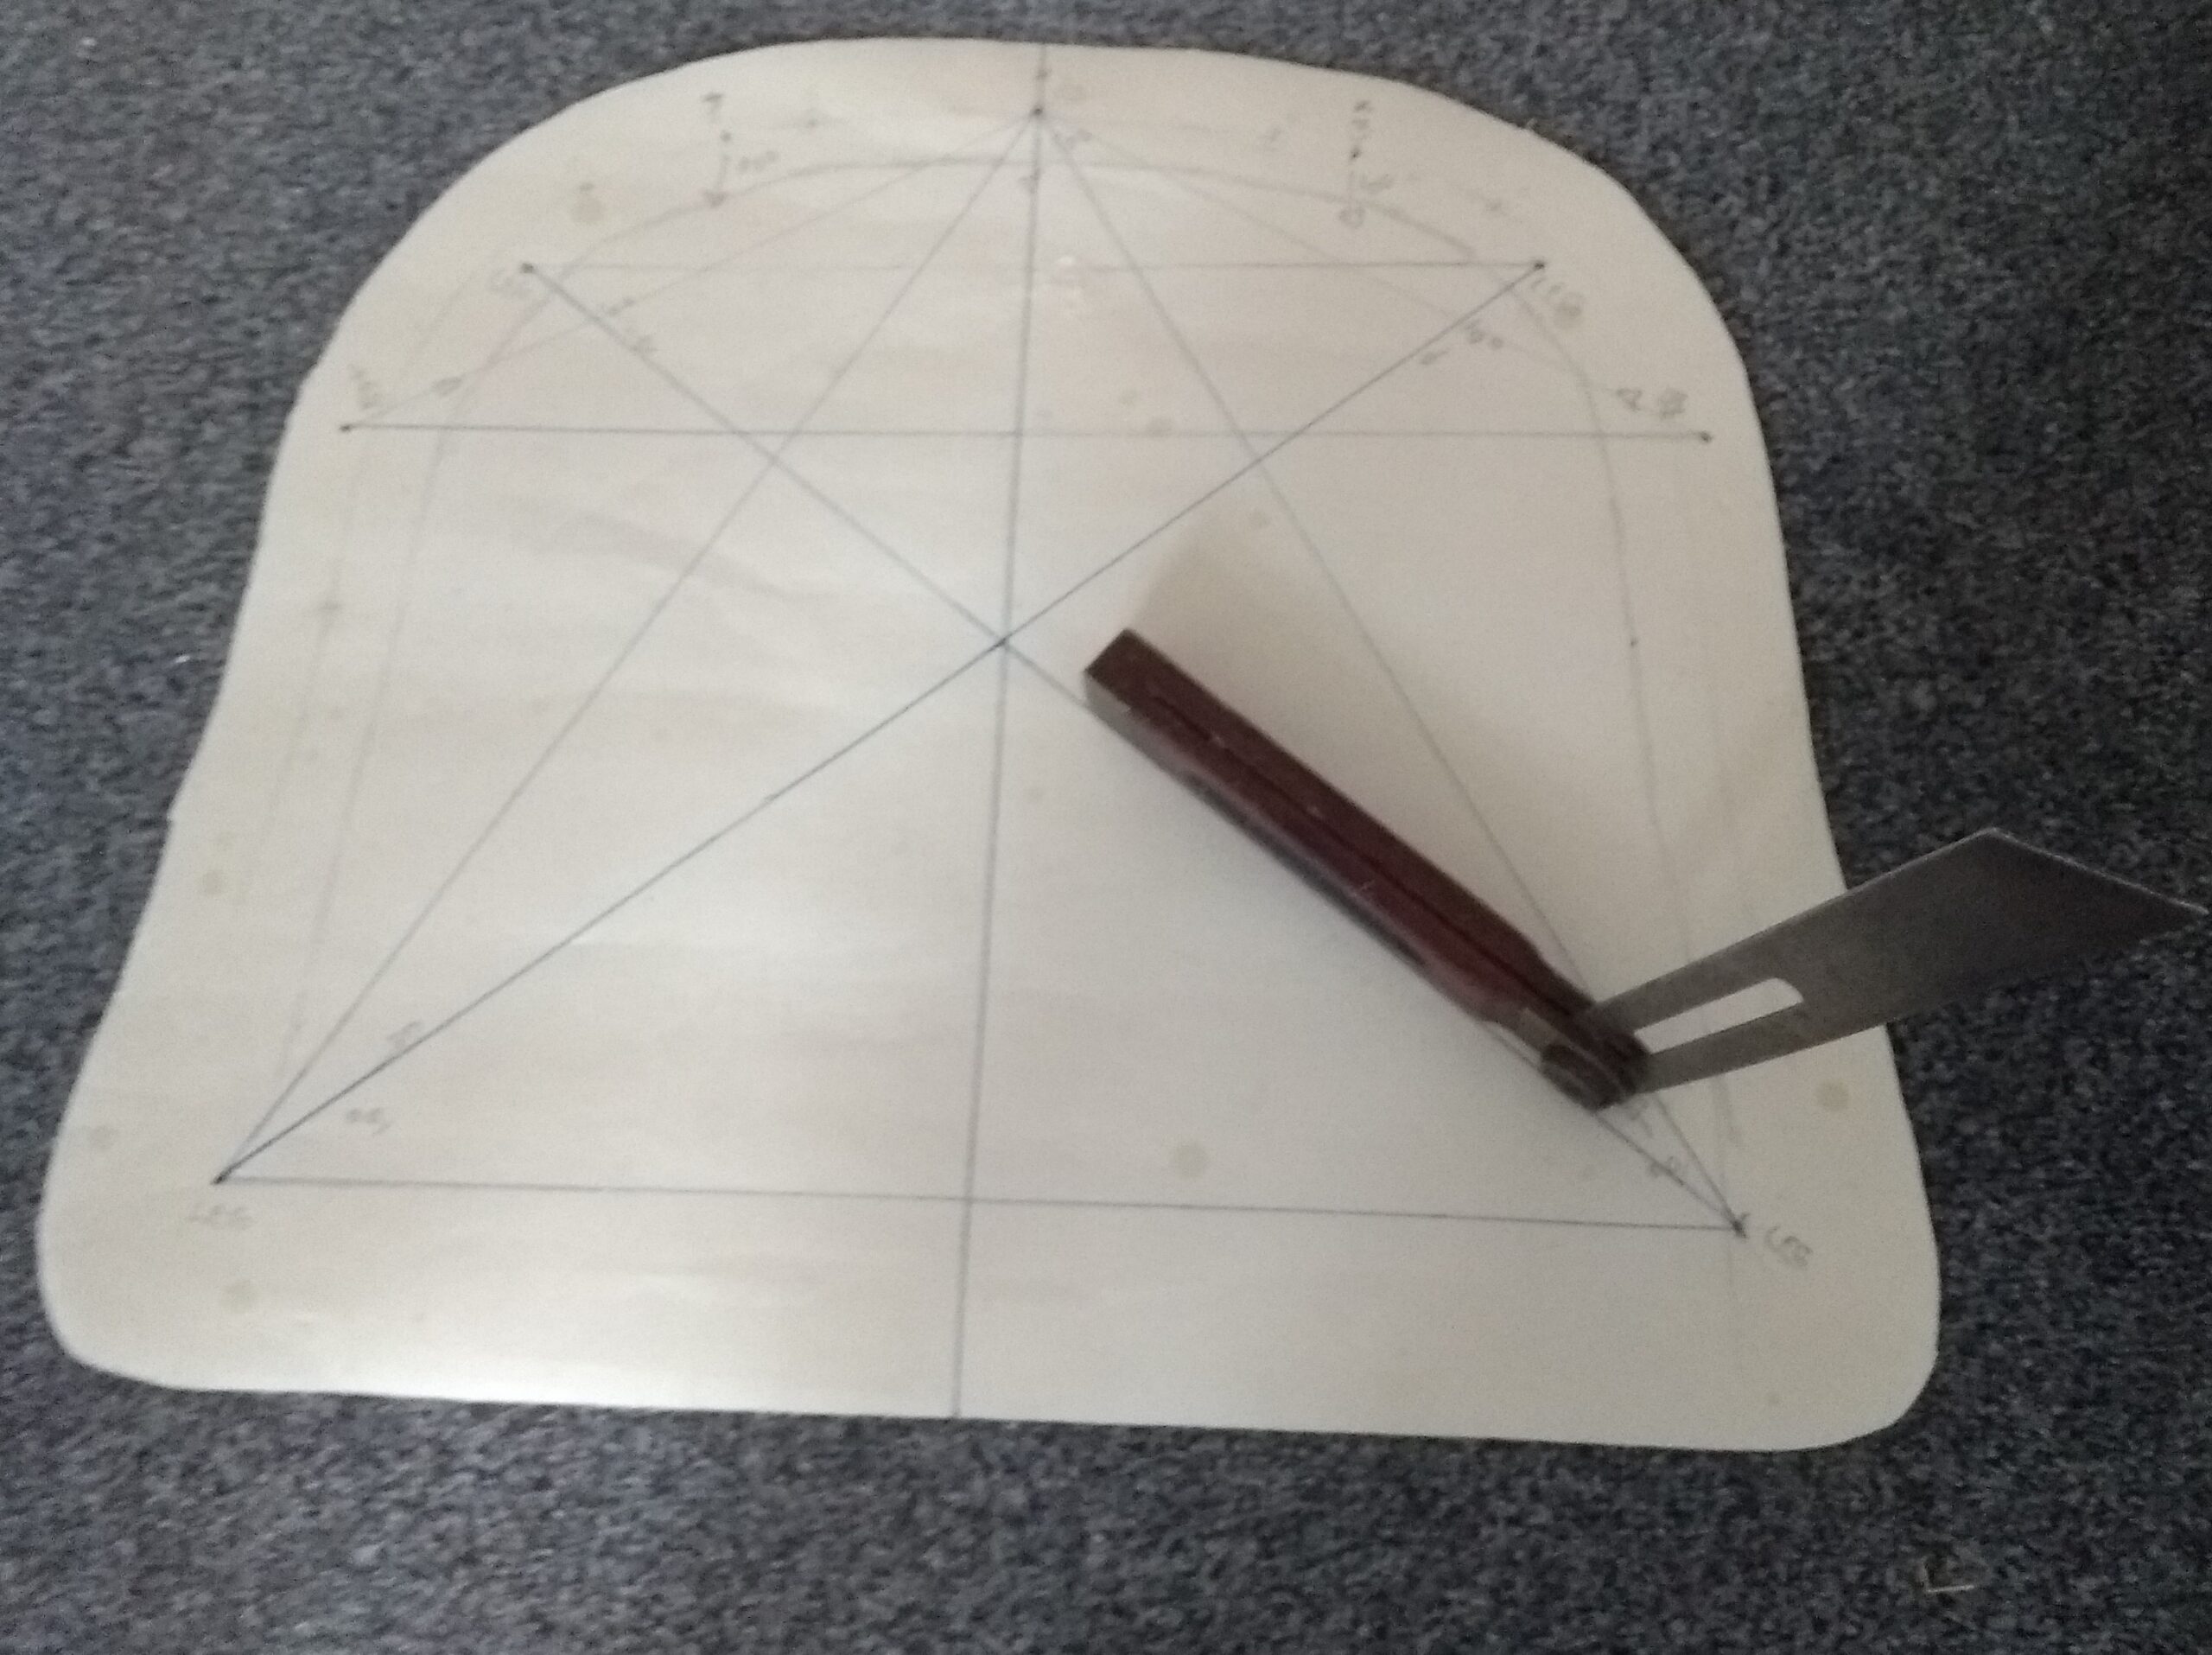
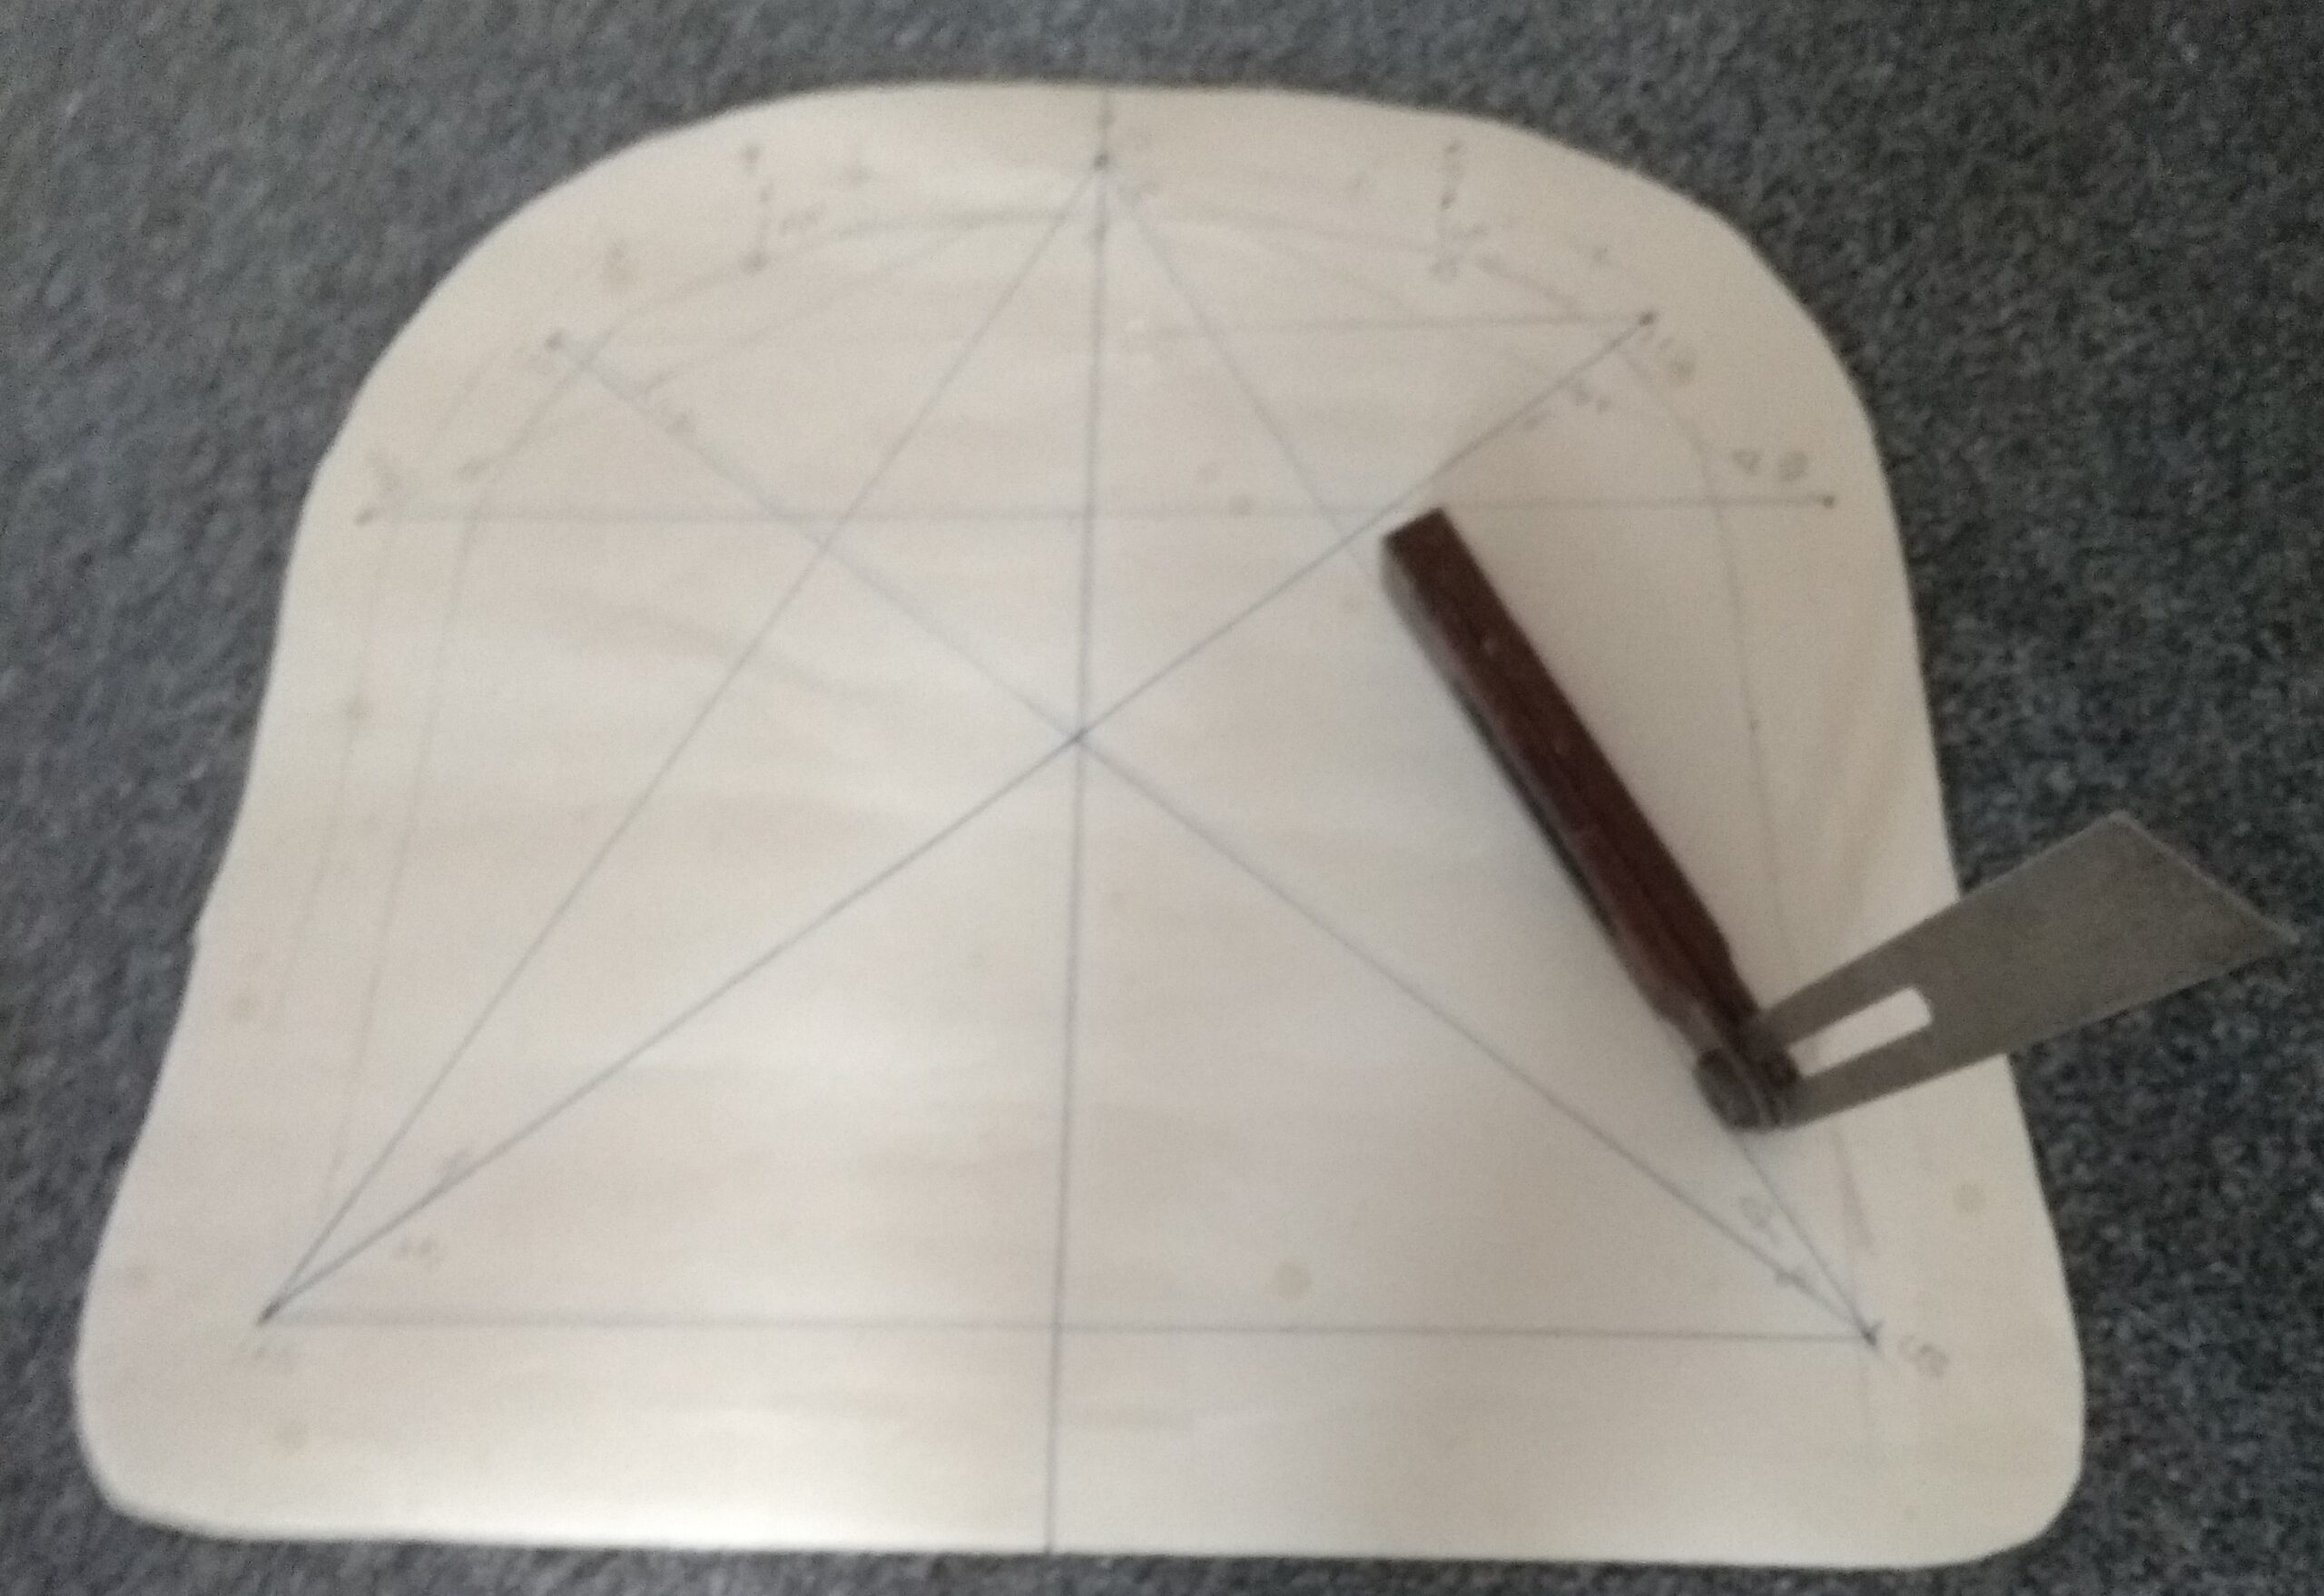
The bevel on those pictures is actually sat on a seat template, on which you can see some lines drawn. These show placement and directions taken for all the legs and arm and back sticks. The front legs are set up to line up with a centre point at the back and the back legs are set up to line up with the opposite front leg. As you can see from the first picture, running your bevel along that leg to leg line gives more splay to the side, which counters the narrower back end of the seat. Using a wall lining paper template allows you to experiment without drawing lines all over your seat. Put your bevel on and move it around, looking at the effect. Once you are happy with the shape it makes as a leg, draw a line alongside the bevel, over the leg centre dot and until it crosses the front to back centre line. If you have marked your leg centre at the same point on the other side, you can then join it to the point where the line you have just drawn joins the centre line and you will have symmetry. When you are drilling the mortice hole, this combination of angle and direction is much easier to deal with. Put holes through the paper where the two leg centres are and where the lines from those two legs join and you can lay the template on your chair seat and push the holes through to reproduce them on the chair.
Let me introduce another simple device. The upside down legs of this drill guide are simply screwed to the sides of a block and are held to the angled board by friction. If you move the legs backwards or forwards the angle of the board changes. If you do this till the angle between vertical legs and tilted board matches your bevel from above then you are ready to drill holes. Place your seat on the board with the line you drew between leg centre and centre line aligned with the centre line on the board. Place your drill on the leg centre point and keep it vertical (the vertical legs above make that easier to spot). Drill your hole and it will have the angle and direction you have set out.
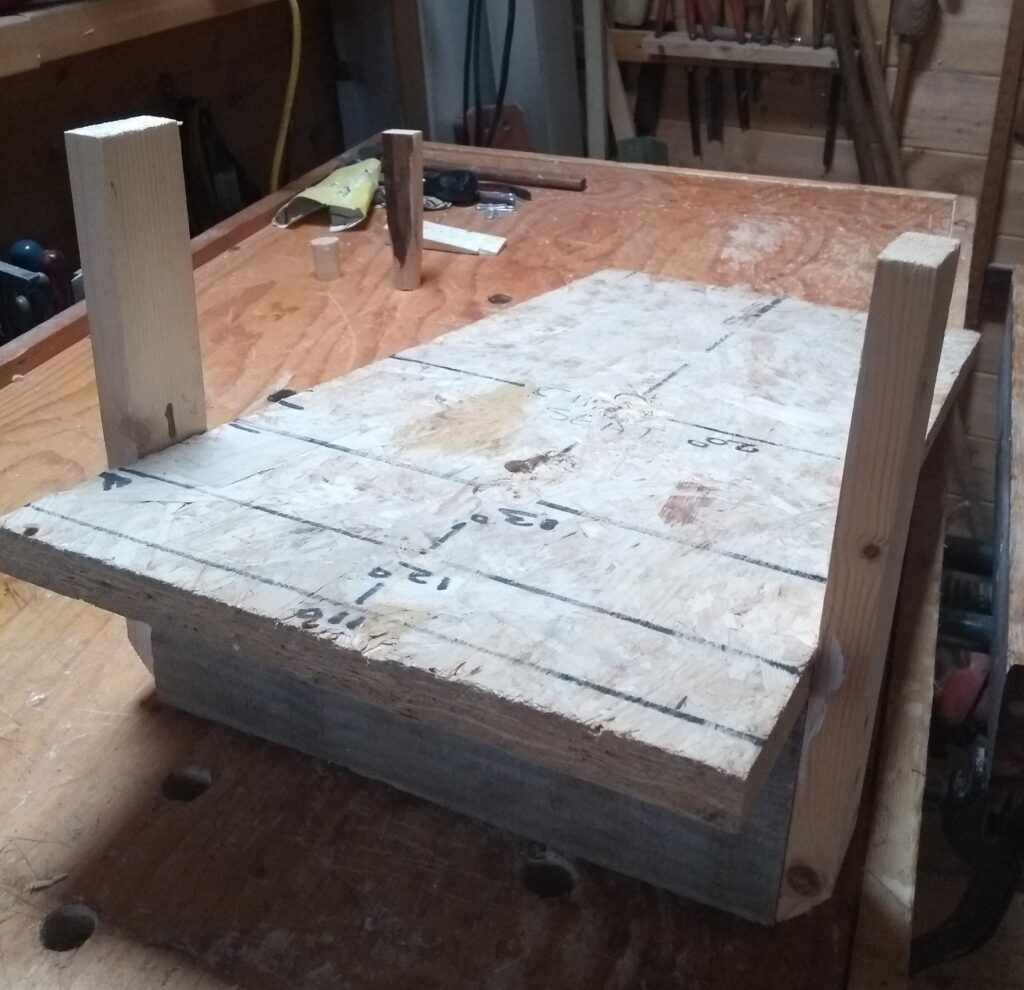
So, keep your angles simple and add a direction. Mark things on a template if you are not sure or want to do the same more than once. If possible find a way to tilt the work rather than the drill; it is easier on the eye and brain. I will cover some more complex problems relating to angles next.
