I have been aware of digital art most of my adult life, i.e. since the early 70’s. I’ve made static images, animations, games, manipulated videos and sound. The tools that are available now are astonishing. That said, alongside a phone to quickly capture some aspects of a scene, below is what I use mostly when sketching:
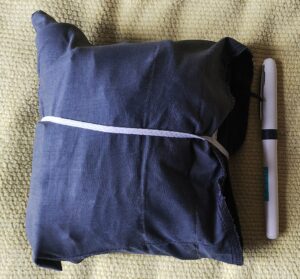
It has in it mechanical pencils with soft drawing leads, short very soft pencils, a mini paint box, water filled brushes, rags, two tiny sketchbooks…… It also isn’t affected by awkward light reflections and doesn’t run out of power. The image below is in that bundle still.
On my Android phone I have a copy of Art Rage, which works on all the main computers. This one used just my finger as a pointer/pen/pencil. Waiting for a tram in Soler on Mallorca, I could draw this quickly without getting out and balancing, pad,water, paints and pencils.

The first thing to remember about digital art packages is that media rules don’t apply. While you can appear to be painting with oil and a stiff brush, you are just applying dots of colour. If you use a pencil effect, you can expand the the size of the lead to huge proportions, add colour and get that grainy effect of a soft pencil on grainy paper over whatever area you want. You can change the settings of the tool, for instance to make the pencil or charcoal softer or more grainy. If the tool doesn’t give you the effect you want try another one. This lack of rules applies whatever the App you are using.
While you are just applying dots when you work, the apps and devices are very sophisticated nowadays and can often detect pressure and speed to recognise gestures. In this way they try to reproduce what you would get when using a brush, pencil or other tool on paper or canvass. To get the best out of this, the ‘pen’ device and App may need to match. Procreate on Apple is matched to the Apple Pencil and even different models are better matched than others. Don’t forget my finger drawing though.
The final thing I’ll say for the moment is that there are three tools on all Apps that you can use. First, Undo, which usually allows you to go back several times to pretend you didn’t just do what you did. Second a variable size Eraser that will magically rub out paint too. Third is the ability to change the Settings for each tool, for instance to add more thinners or paint. There is also the opportunity to save what you have done so far and start adding to it in another version (left swipe the file on Apple).
I’ll keep adding to this post with more detail later. See below.
Good luck.
What are you trying to draw/paint?
Here are a couple of finger doodles on the phone:
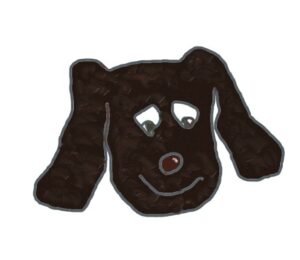
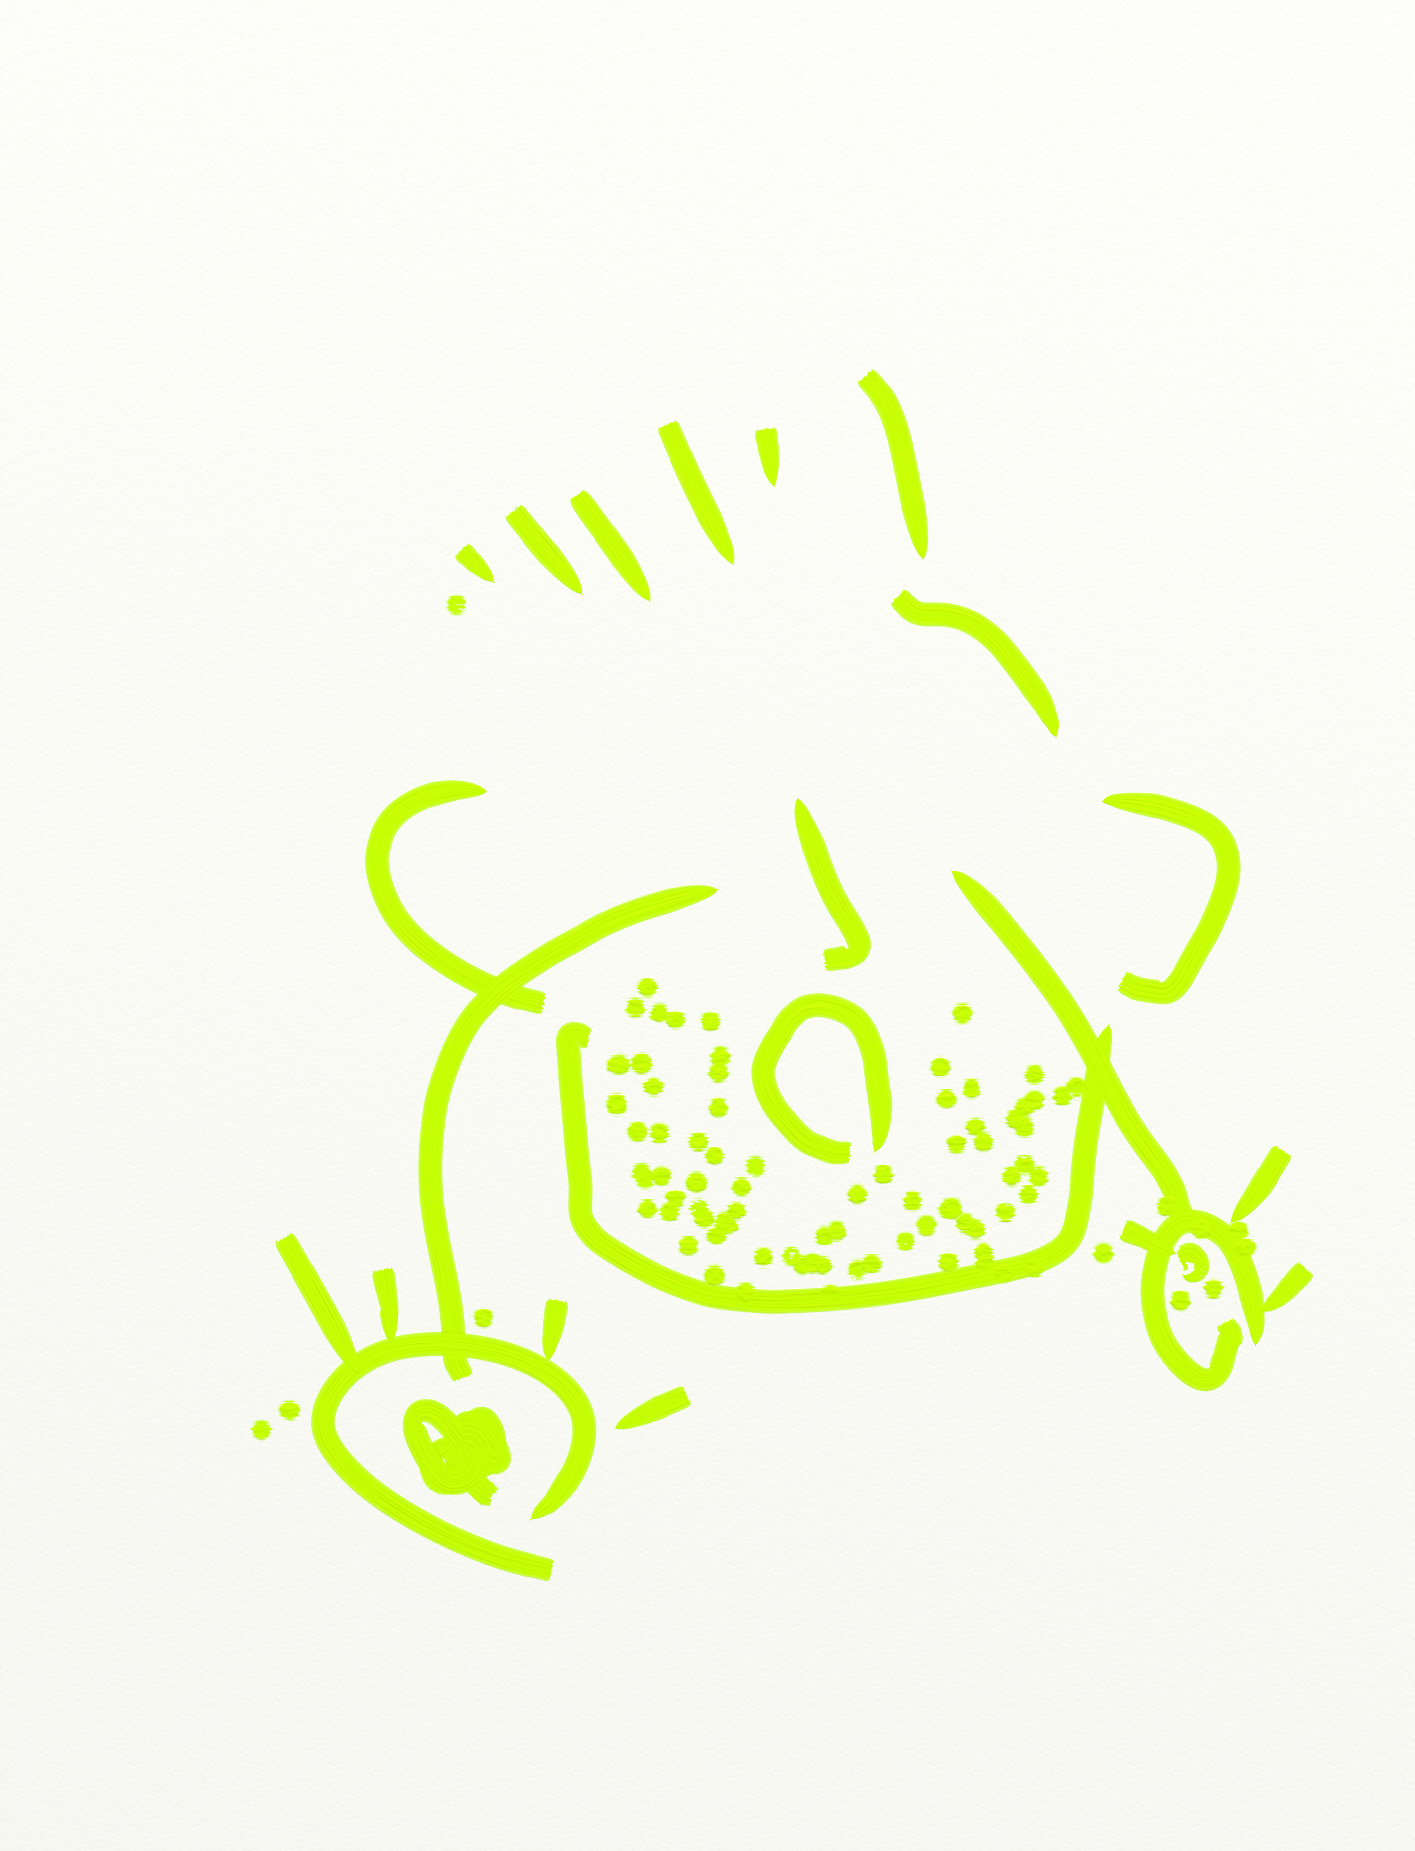
These were done very quickly to send via WhatsApp. The second one was during a FaceTime with Ruth’s grandchildren, when they were laughing at my eyes popping out. I sometimes play ‘swap the doodle’ with my grandchildren or send quick visual jokes and birthday wishes to them. The digital art apps are great for that but if you are thinking of a digital version of a paper image then it gets a little more complicated. As with any medium, it is easier if you create images that fit with the medium. All we need to know for the moment is that it helps to have an idea of what you are aiming for. If you are aiming for a particular size of printed image, then try to start with an image of that size.
Cutting and Pasting
I am now going to half contradict that statement above and introduce another tool. The image below is one I was working on, using techniques I had never used before, which are much akin to collage. It served to reassure me that I was getting somewhere but I didn’t like the colours of the feet at the bottom and the cars needed more variety. So I made a new copy of the image and started altering it. I simply rubbed out the feet and started again, having worked out better ways of doing that bit of it.

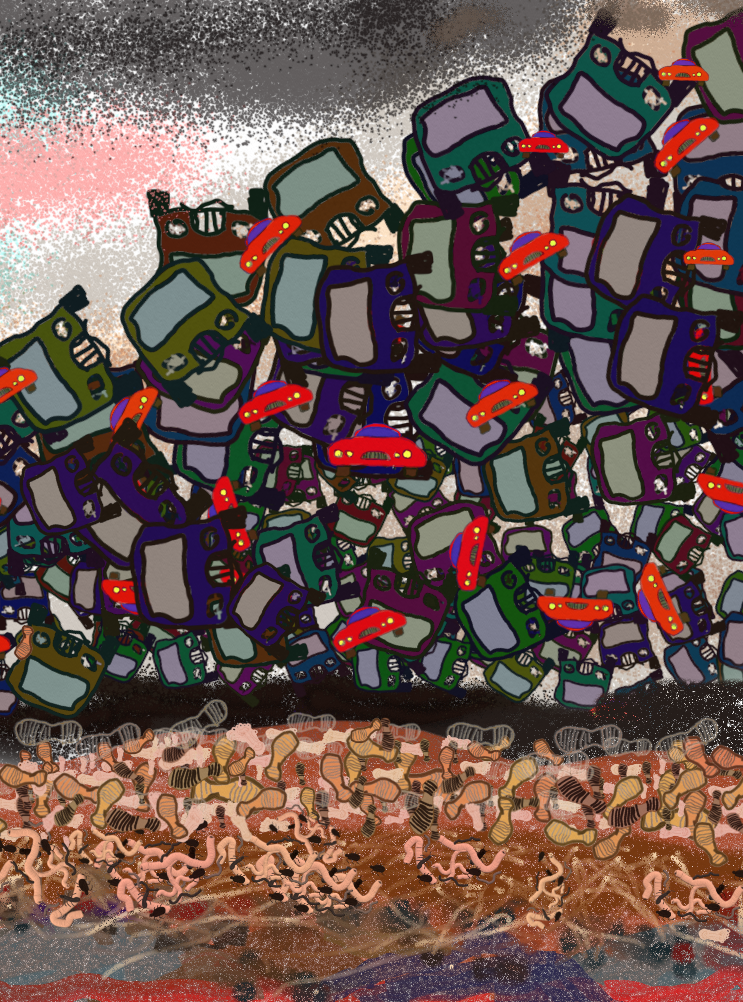
The result was this one:
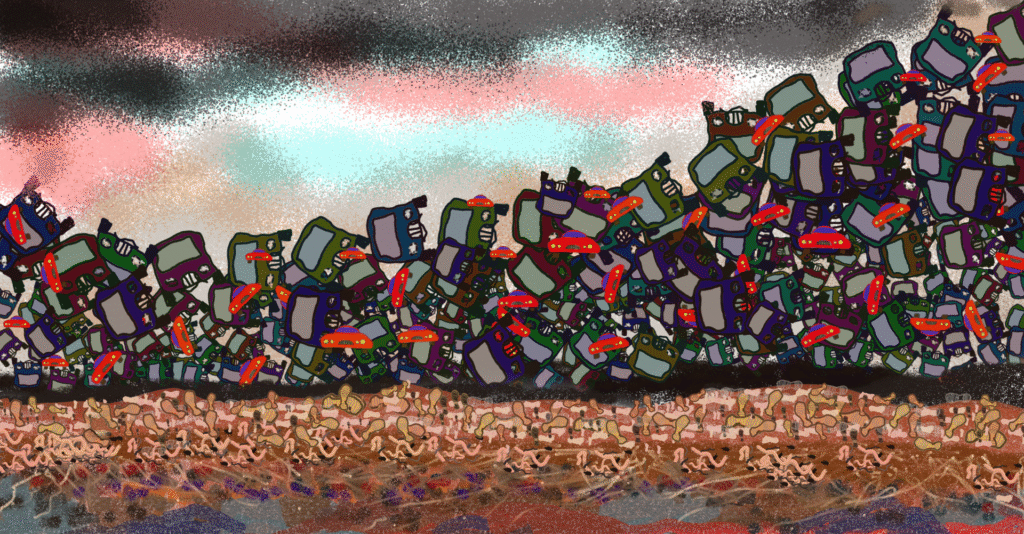
You can see that the feet are completely different, I’ve added soil and subsoil layer and also creatures. There is extra colour and variation in the cars too. At this point I realised I had made the wrong shape decision at the start, so I was able to set up a new blank canvas and select a portion of the old one and copy it in.
I was much happier with that, so I added a few subtle changes and settled on the finished image (for now…). So don’t give up.
Importing an Image
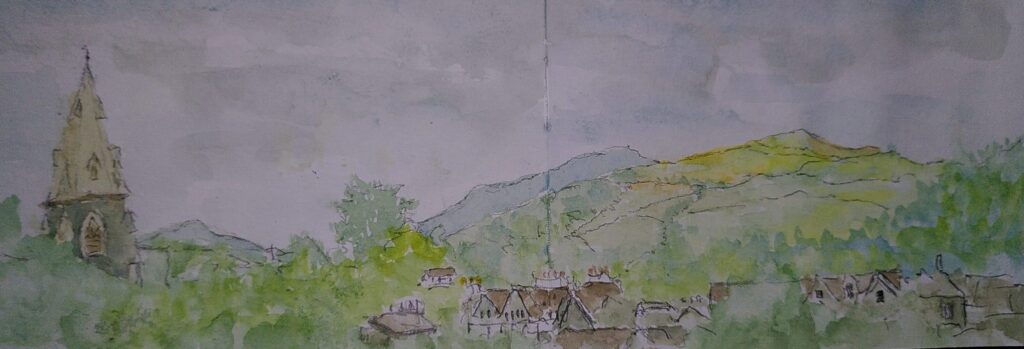
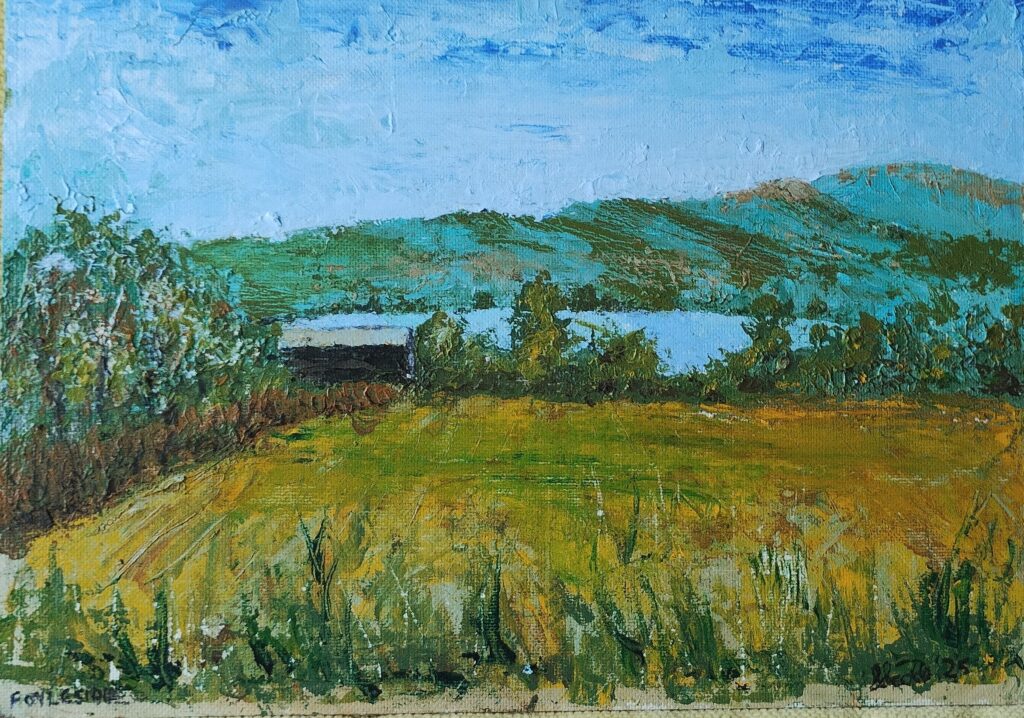
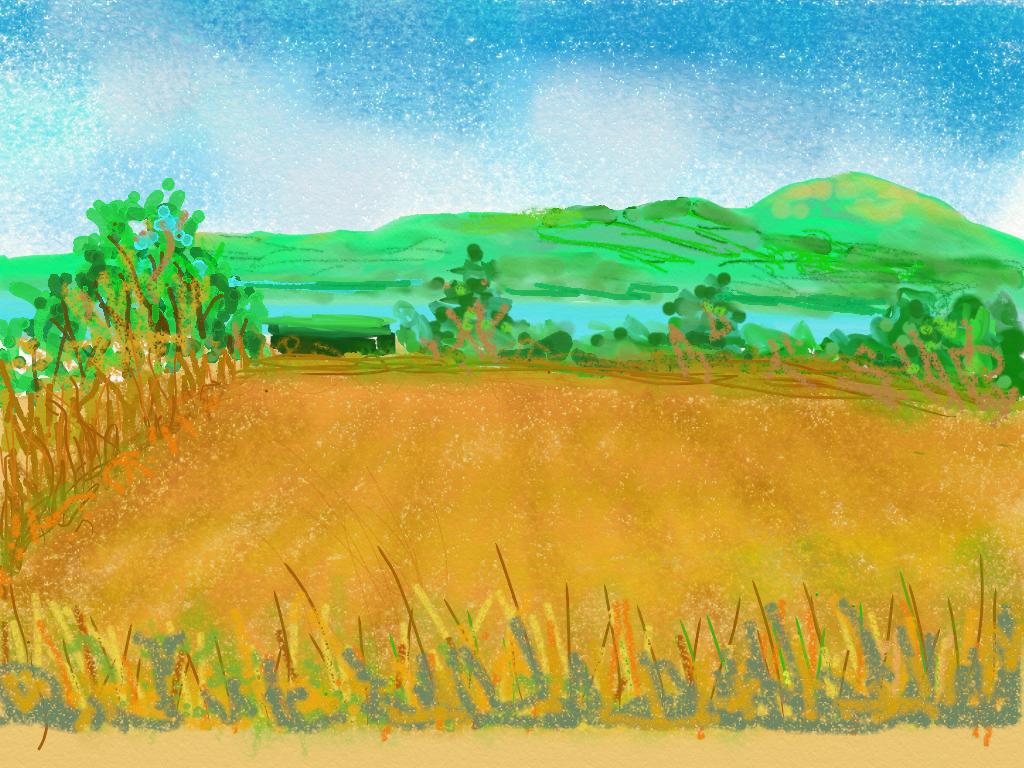
Last week I was at a workshop on using palette knives, which I am not very practised at. I kept at it afterwards and produced the image below:
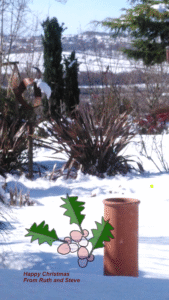
As an experiment I imported that image into the art app I was playing with and added a transparent layer on top (thank you Linda for the idea). In that layer it took around 1 minute to carelessly add some snow. Here is the result:
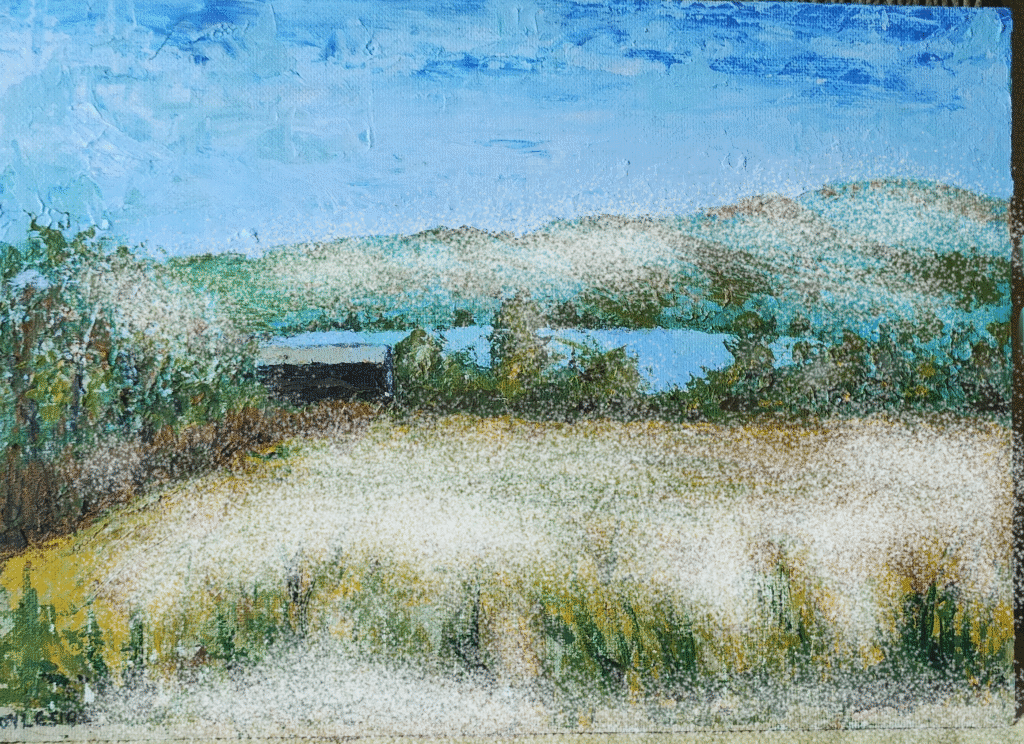
I use this technique to make things like Christmas cards.
While the landscape images above are here, we might as well look at a quick paint app version, done in a bit over an hour, using my finger as a pointer on an Ipad. I think it is not as good and would have to work hard to make it match.
Here is a version done on my phone:
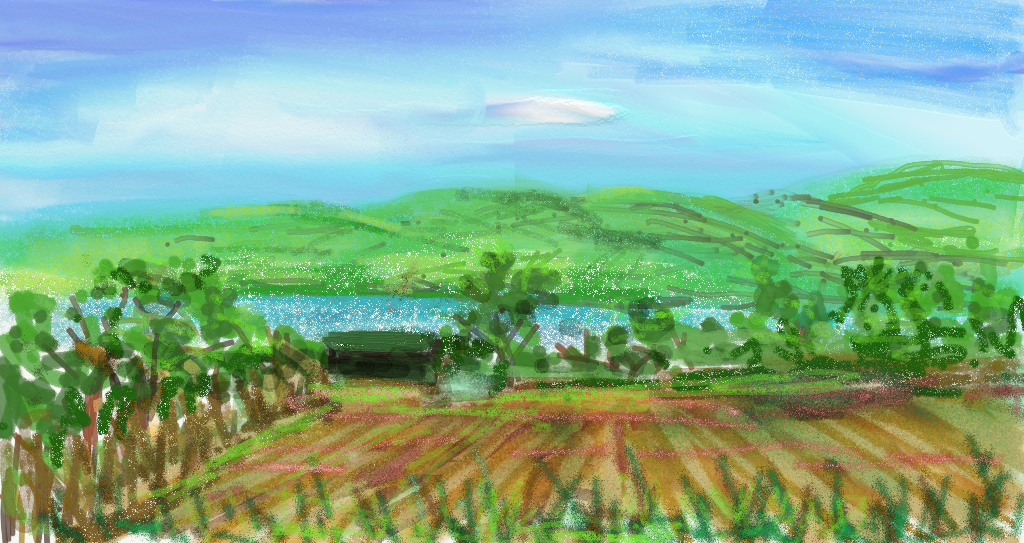
In both of those images I tried to use the tools available to get a bit closer to the hard copy original. In the ArtRage package there is even a palette knife tool, but I couldn’t get that physical feel. A quick play with Procreate was even less satisfactory, but I am less experienced with that.
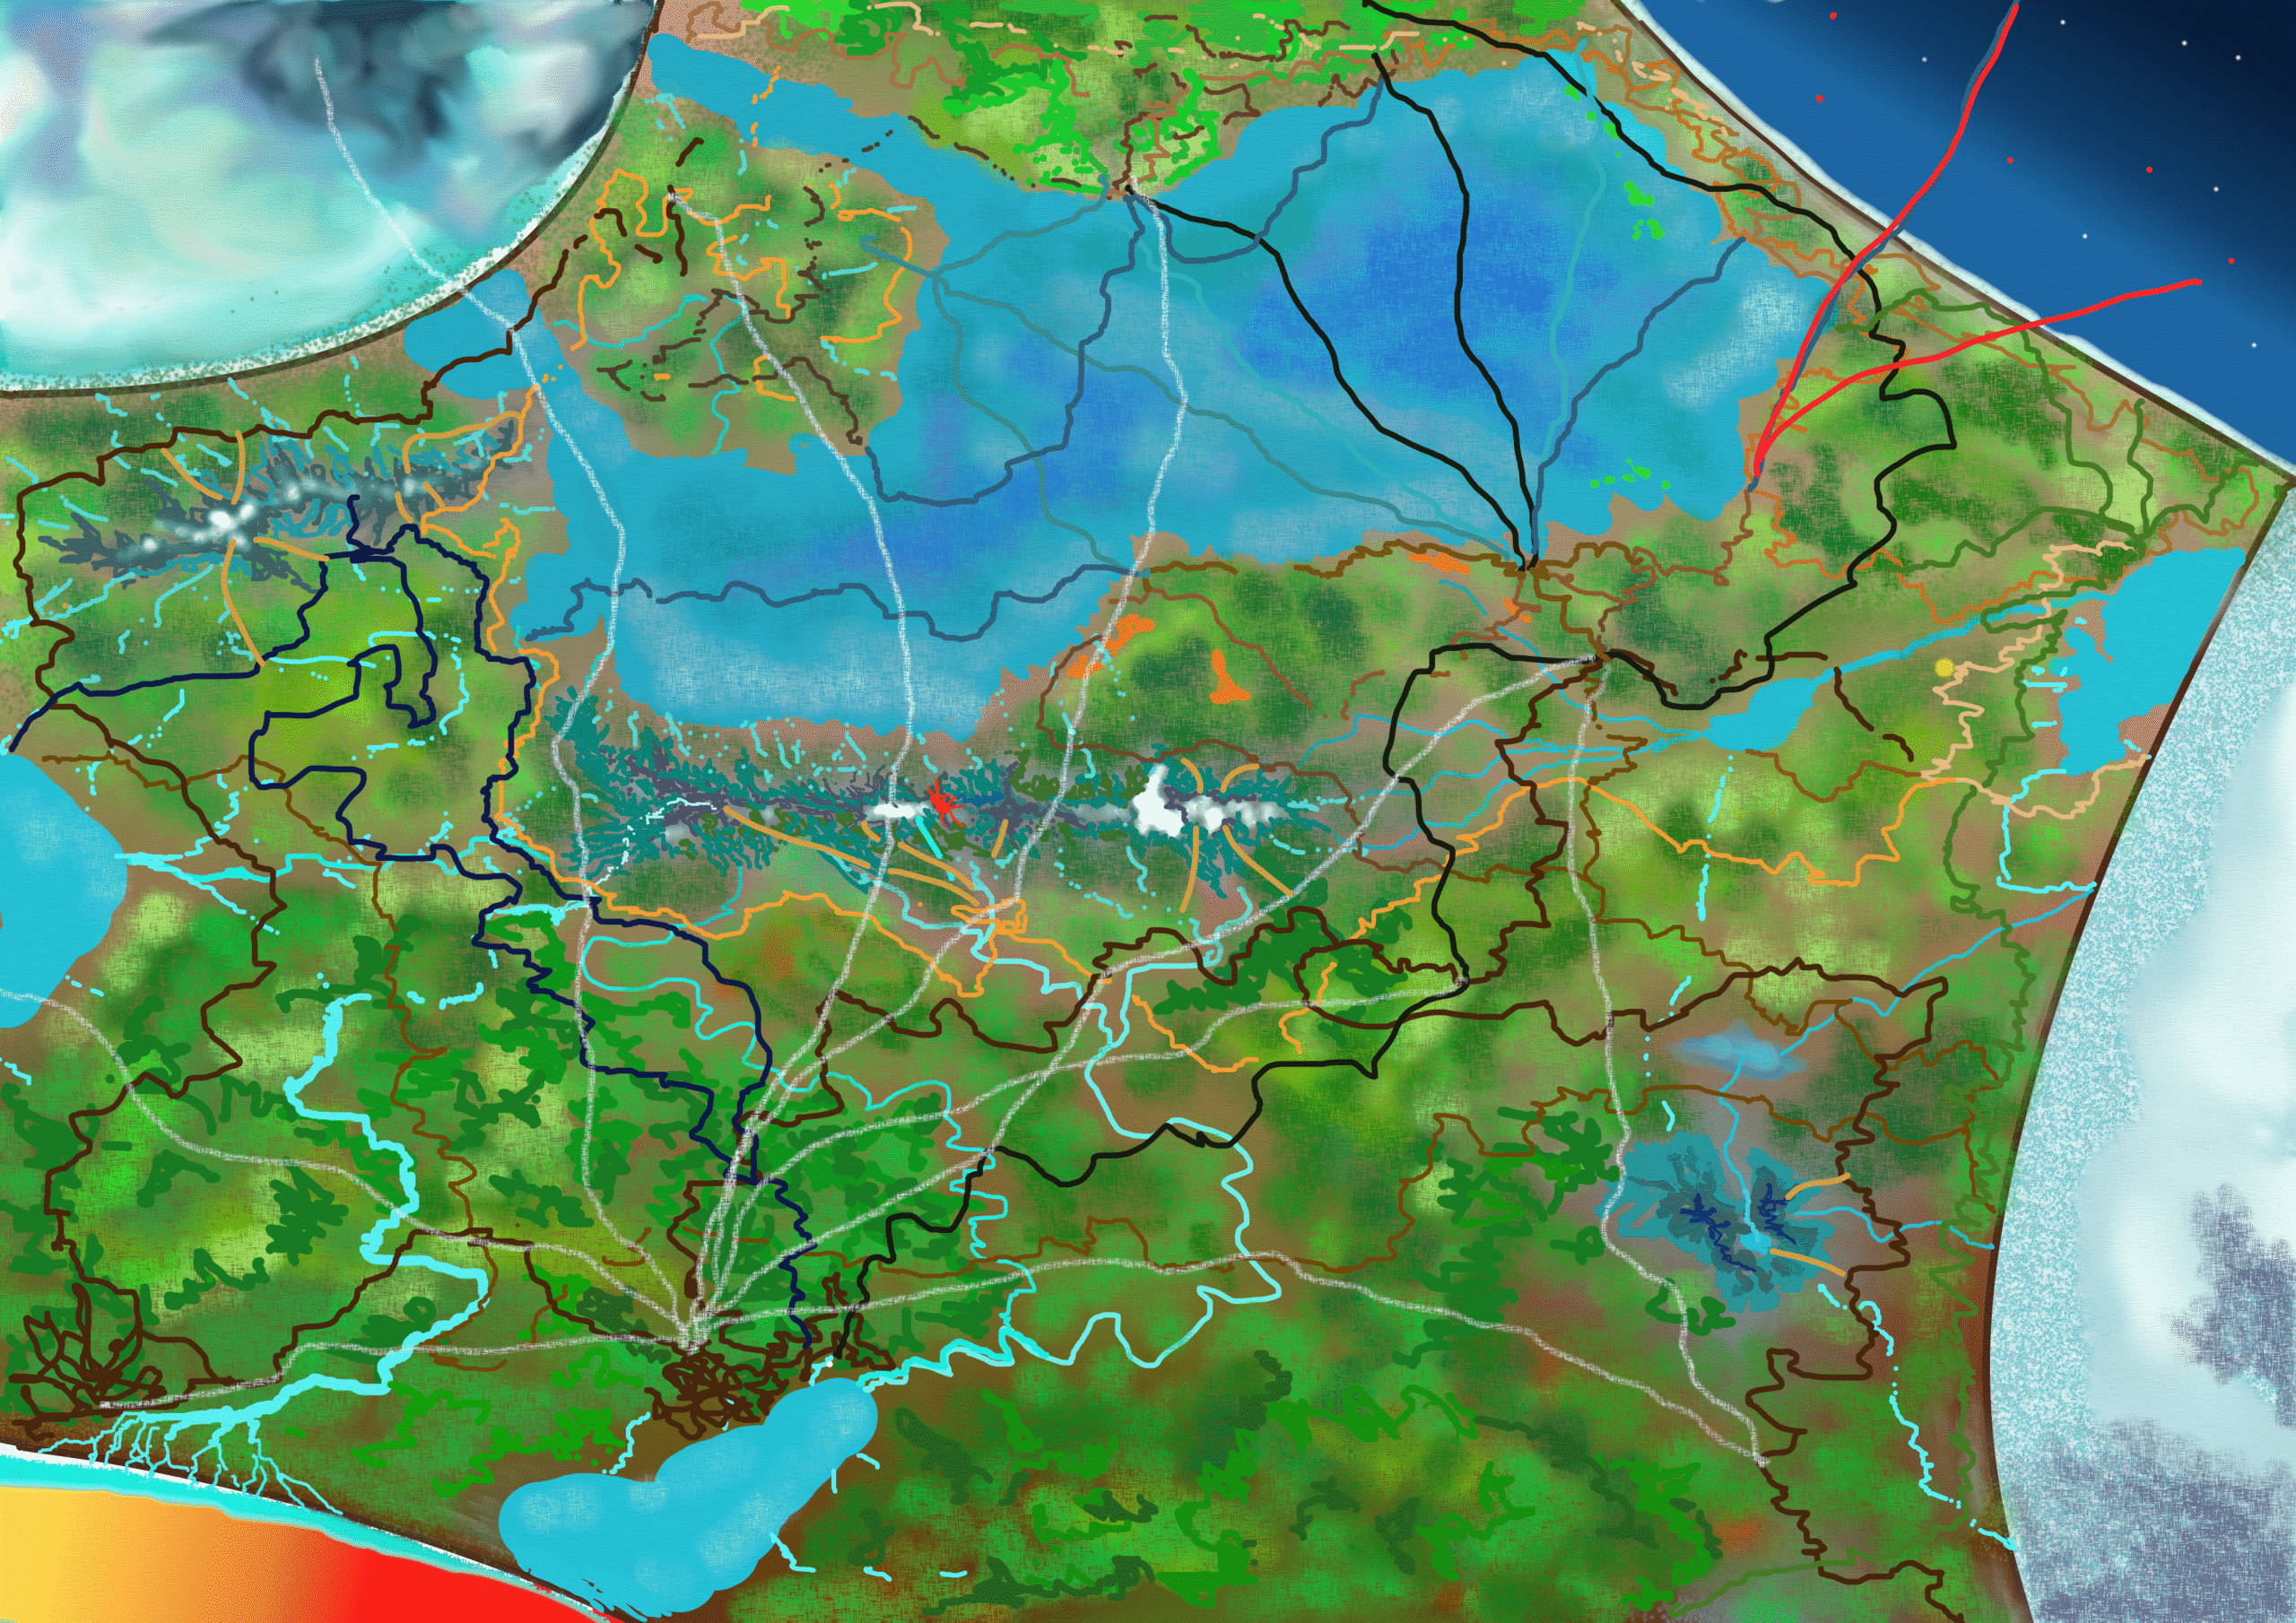
I’ll finish this particular post by repeating earlier advice. Treat the digital art Apps as a different medium. Play with them to see what works for you. Discover how they work best. So far I have discovered that ArtRage seems to work better than Procreate at reproducing different media while still being flexible in use. If you paint or draw detailed and smooth images, rather than textured, then the Apps might make a better job of reproducing what you do. Here’s one about us travelling through the world, that was digital from start to finish:
Here is one, called Dancing up the Dawn, that I’m working on. It uses all the techniques covered above:
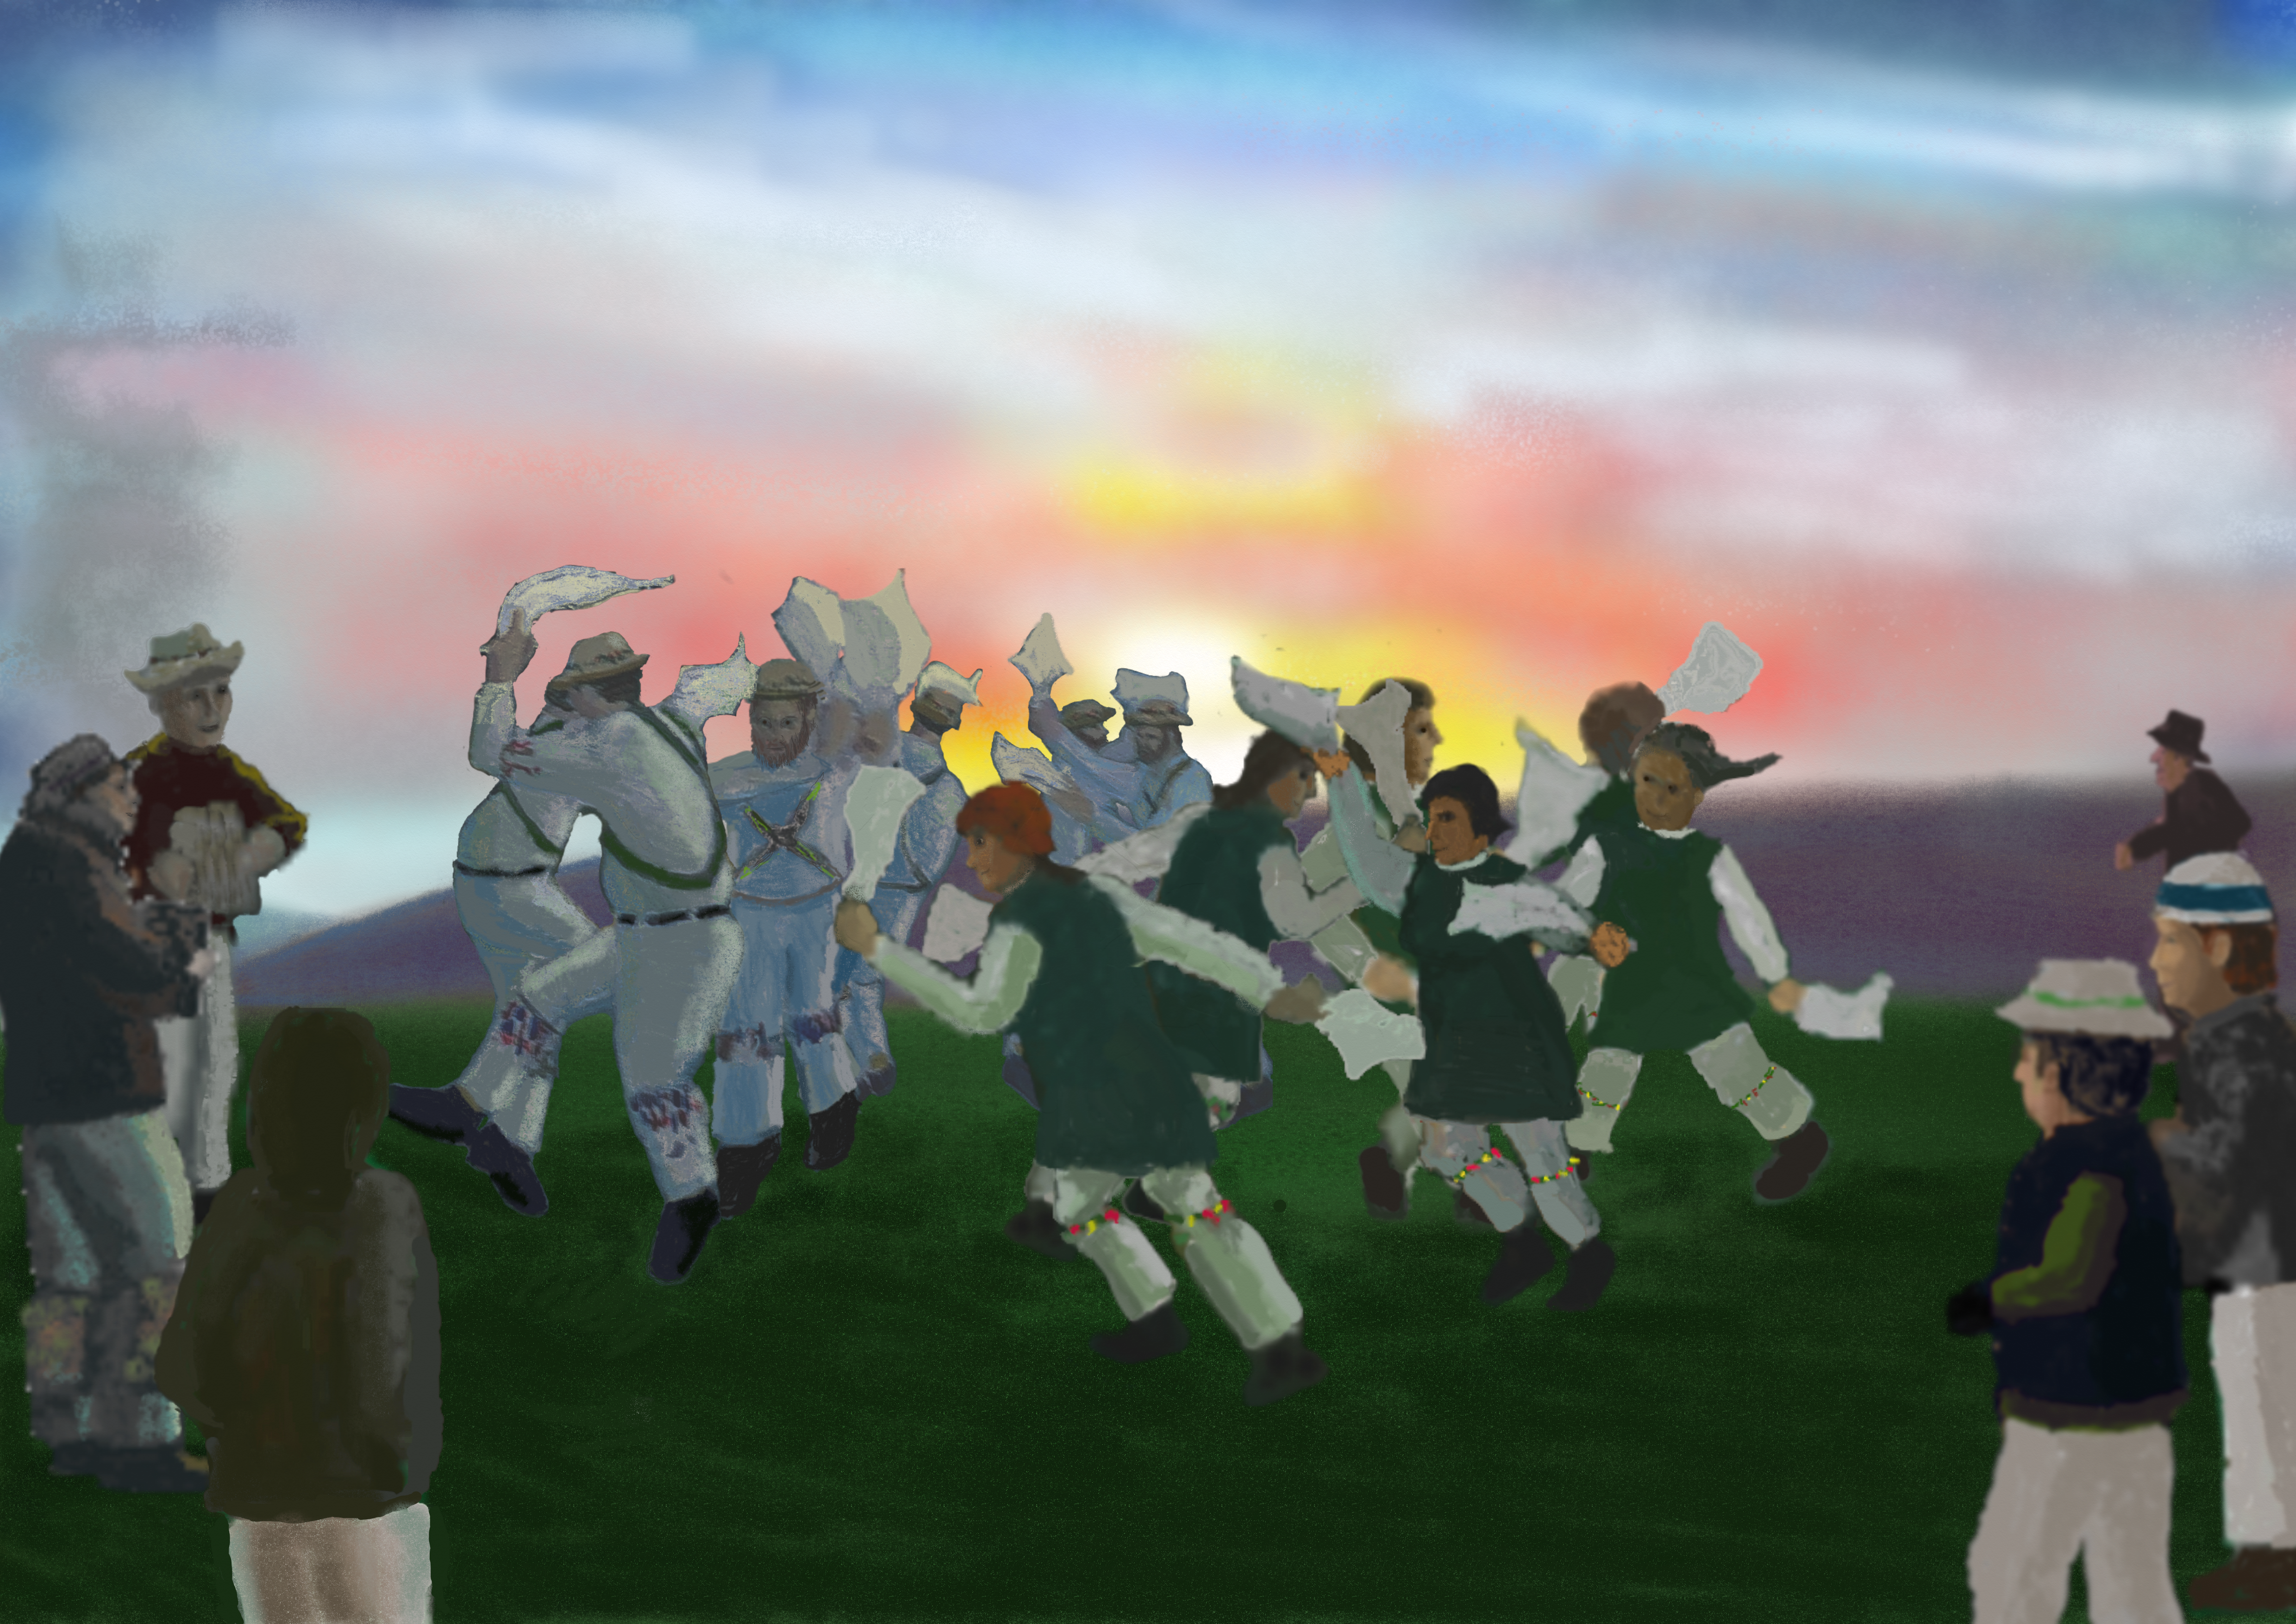
This is much more complicated and there are basic figures that I have taken from previous work and then altered for this picture. I have used multiple layers to play with the arrangements. If you put a piece of the image in a higher layer, then it will cover the lower layer, so you can play with different overlaps. Even with the background I use two layers to try out different effects, once I had the basic layout and sky. I later went back to the top one of those two layers to play with the shadow effects. You can merge layers when you are happy to make it all a bit simpler to remember and make them temporarily invisible when you are having difficulty working out which layer is which.
Finally on Layers, the canvas is also a layer. You can choose between different canvases. The texture of the canvas will have an effect on what the paint does. All the layers, including the canvas, can normally have varying levels of transparency, so the can either cover up lower layers, where there is drawing in this one, or merge in. This is generally true of the canvas as well, to that the canvas disappears when the marks are printed. This is important if you are sending it to some one to print on a T-shirt or other object.
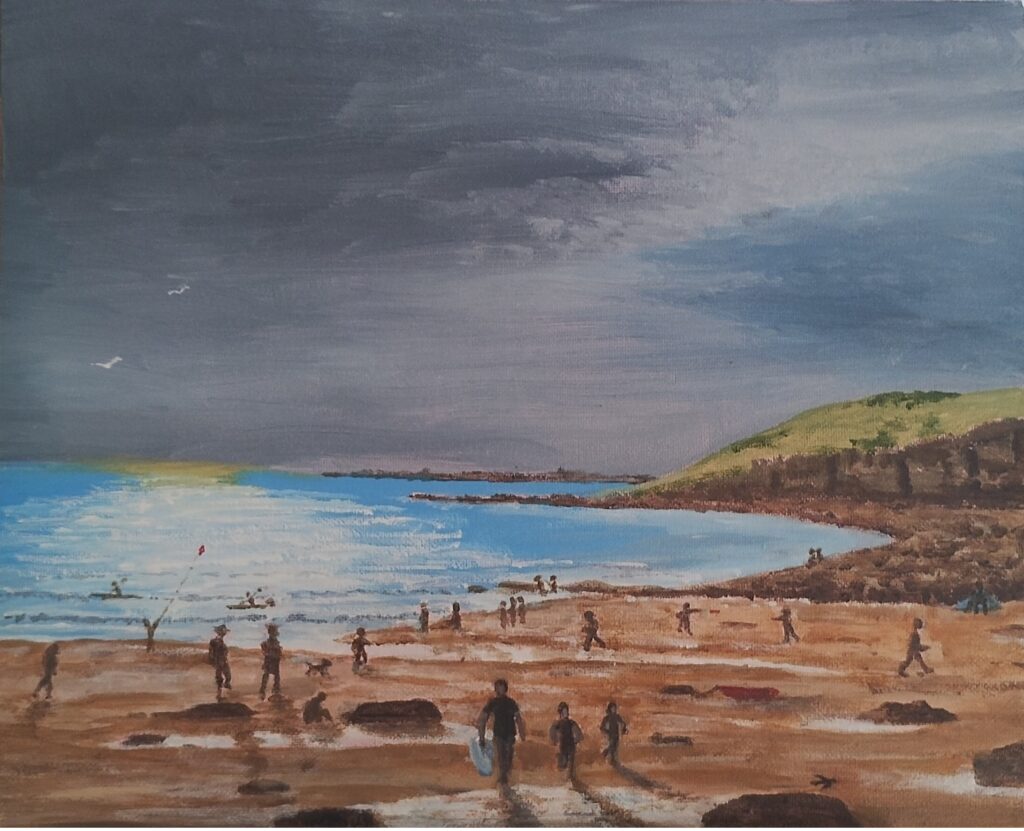
This image was taken by starting with a watercolour sketch I’d one, adding to it an altered cut and paste from a photograph and then playing with it all in the art package to get an idea of layout. This was then worked up into an acrylic painting.

I’ll just finish by saying a bit about the apps that you can use. There are loads of them and there are similarities but also many differences. I have found that there is no one app that is good for all purposes. They all have quirks. It also depends on the type of computer you use. Apologies that this starts to use jargon but at some point you have to understand different file types, print sizes and other such technicalities to get the best of what you are doing.
First remember photo manipulation apps such as Photoshop or Lightroom and free equivalents, like Gimp. They often have tools that are useful for image manipulation. It may be quicker to export your image, adjust it and then import it again. Next there are simple art apps on most devices that can be a less daunting starting point and a more icon led and more intuitive than apps catering to constant users. Finally there are alternatives to the obvious contenders such as ArtRage that I now use and RealWorldPaint.
Once again, Good Luck.